Hey, guess what? My husband's Mountain Dew addiction finally came in handy! He's very happy to hear that.
I found this activity in an old Highlights magazine. I mean, the magazine is from 1991, y'all. But I knew my kids would love this activity, and love it they did!
Wash and dry aluminum soft drink cans. Place 15-20 dried beans in each can, and cover the opening with tape.
Cover the cans completely with aluminum foil. Decorate with paper cutouts. Shake the cans to make noise.
We loved this! It's easy for the kids to do by themselves and noisy, so what could be better?! My hubby did point out that the aluminum foil could cut someone if there is a sharp edge. They didn't care about that kind of stuff in 1991. Kids were hardcore back then. Anyway, we loved doing this together and I wouldn't be surprised if we do it again in the future!
Showing posts with label homemade. Show all posts
Thursday, September 26, 2013
Frugal Craft: Homemade Noisemakers
Labels:
activities,
children,
easy,
frugal crafts,
fun,
homemade,
kids,
toys
Friday, August 16, 2013
Frugal Craft: Tissue Paper Cross Stained Glass Window
Wow, it has been a long time since I had a chance to post one of our crafts! I actually have some down time tonight (miraculously!) so I want to catch up on one at least. We just did this the other day and I loved it. It's super easy and for me, it was free, so that is definitely a win.
This started last week when I got a magazine in the mail, Oriental Trading Company, which I've not heard of and never used. But I'm glad I got it because it has some really cute craft ideas in it! Okay, so technically you are supposed to buy the craft supplies from them... but I think we all know I am too frugal to do that! We make our own stuff in these here parts!
You will need:
Step 2: I put the contact paper on top of black construction paper and traced the cross only with a pencil. I simply had to bear down enough to get an outline on the black paper, and then cut out the cross. I did this twice because each kid was going to make their own.
Step 3: Put the black crosses on the contact paper. You don't need to glue or anything since the contact paper is sticky already.
Step 4: Start cutting. Cut tissue paper to your heart's content. Or lay on the floor and let your sister do it. After a few sheets you'll just start ripping it anyway.
Step 5: All that hard work is about to pay off! Start sticking the tissue paper randomly around the cross on the contact paper. Again, no glue needed on this step.
Step 6: When you're done, cut out another sheet of contact paper to place face-down on top of the cross and tissue paper. Make a contact paper sandwich, in other words. If you want to hang it, poke a hole in the top and thread yarn through it. Hang it in a window or you can tape it on a window as well.
Voila! Made with craft supplies around the house and the kids loved it. I think they turned out cute, even though we only had three colors of tissue paper!
This started last week when I got a magazine in the mail, Oriental Trading Company, which I've not heard of and never used. But I'm glad I got it because it has some really cute craft ideas in it! Okay, so technically you are supposed to buy the craft supplies from them... but I think we all know I am too frugal to do that! We make our own stuff in these here parts!
So, this is one craft I wanted to do with my kids and I knew it would be easy to replicate:
- Google search for an image of a cross you like; print it out
- Contact paper
- Scissors
- Black construction paper
- Whatever tissue paper you have in the house
- A little yarn or ribbon if you decide to hang it up
Step 1: Okay, obviously I am making this up as I go along, so just bear with me. First, I went on Google Images and just searched for a cross. I found one really quickly that looked perfect for the project. I printed one out onto regular printer paper.
I put contact paper on top of the cross and traced around it with a pencil. Then I cut it out.
Step 2: I put the contact paper on top of black construction paper and traced the cross only with a pencil. I simply had to bear down enough to get an outline on the black paper, and then cut out the cross. I did this twice because each kid was going to make their own.
Step 3: Put the black crosses on the contact paper. You don't need to glue or anything since the contact paper is sticky already.
Step 4: Start cutting. Cut tissue paper to your heart's content. Or lay on the floor and let your sister do it. After a few sheets you'll just start ripping it anyway.
Step 5: All that hard work is about to pay off! Start sticking the tissue paper randomly around the cross on the contact paper. Again, no glue needed on this step.
Step 6: When you're done, cut out another sheet of contact paper to place face-down on top of the cross and tissue paper. Make a contact paper sandwich, in other words. If you want to hang it, poke a hole in the top and thread yarn through it. Hang it in a window or you can tape it on a window as well.
Voila! Made with craft supplies around the house and the kids loved it. I think they turned out cute, even though we only had three colors of tissue paper!
Labels:
activities,
children,
easy,
frugal crafts,
homemade,
kids
Monday, June 17, 2013
A is for Alligator Craft
My kids, especially my 4-year old, love to do crafts. I'm not that handy when it comes to crafts but the internet is full of fun ideas that are easy and my favorite part - FRUGAL!
I saw this cute craft idea on Totally Tots but apparently the idea originates from one of my all-time favorite bloggers, No Time For Flashcards.
All you need:
Cut small triangles out of the white foam or construction paper to use as teeth for the alligator.
Turn the 'A' onto its side and glue the green triangles to the 'A' so that they look like eyes popping up.
Glue googly eyes onto the the green triangles.
How easy is that!? But way too cute to pass up!
I saw this cute craft idea on Totally Tots but apparently the idea originates from one of my all-time favorite bloggers, No Time For Flashcards.
All you need:
- Green foam or green construction paper
- White foam triangles or white construction paper
- Googly eyes (Go to the Dollar Tree, people!)
- Glue
Cut small triangles out of the white foam or construction paper to use as teeth for the alligator.
Turn the 'A' onto its side and glue the green triangles to the 'A' so that they look like eyes popping up.
Glue googly eyes onto the the green triangles.
How easy is that!? But way too cute to pass up!
"Ooooooh, here comes the alligator!" (That's exactly what she was saying as I snapped this blurry pic!)
"Helloooooo, I'm an ALLIGATOR!", she growls here:
Finished project is too cute!! (The glitter glue we used makes it look like our alligator has gingivitis!)
Labels:
activities,
children,
crafts,
frugal crafts,
fun,
homemade,
kids
Friday, December 7, 2012
Frugal Craft - Homemade Clay Ornaments
Maybe a little late in December to be posting this, but here's a classic frugal craft for you - homemade clay ornaments.
I found this craft at Savings Lifestyle and it was perfect for my kids this year. I remember making these when I was in high school, so hopefully this will become a family tradition!
You will need:
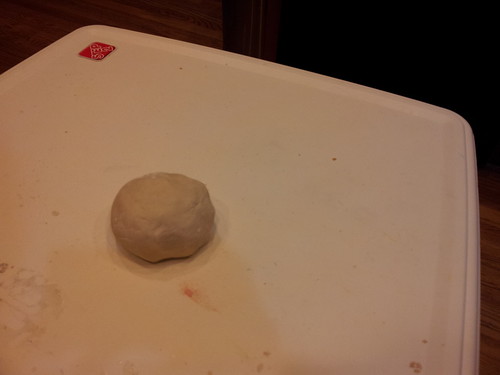
Step 1: Combine flour and salt together in a medium bowl, slowly add the water and mix until a soft ball forms. Knead the dough for a couple of minutes. The dough should be the consistency of pie dough or bread dough. If it's too sticky add more flour, and if it's too stiff add a little more water.
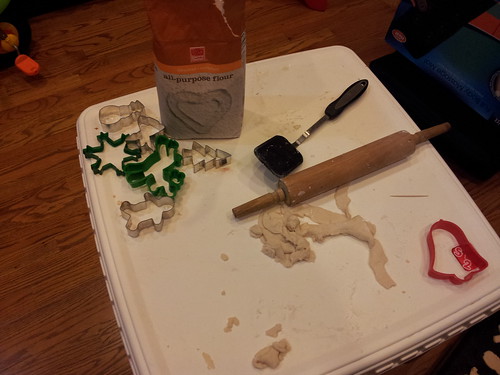
Take the dough and flour a surface and roll the dough out to about 1/4" thick. Take your cookie cutters and make shapes in the dough, making sure you press down evenly. Tear away your unused dough from around the shapes and use a spatula to pick up the shapes and place them on an ungreased cookie sheet. Definitely remember to flour your surface - otherwise you will NOT be able to pick up the dough easily.
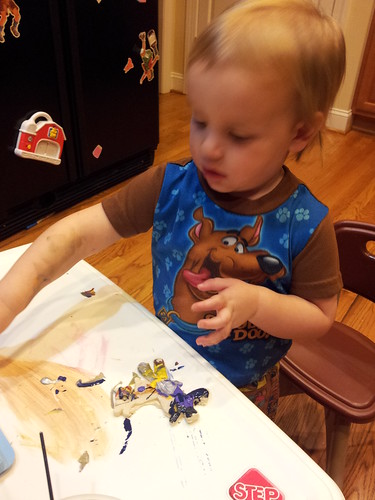
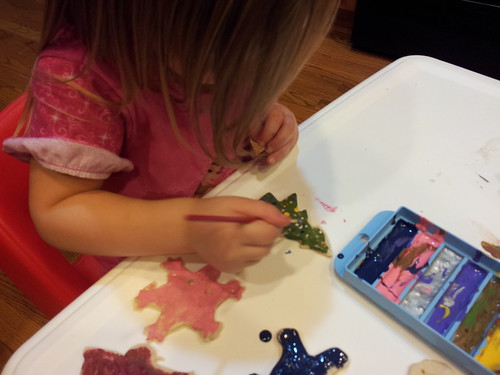
Wait about 15 minutes for the cookies to cool completely and then get the kids painting them and writing names on these little keepsakes.
I found this craft at Savings Lifestyle and it was perfect for my kids this year. I remember making these when I was in high school, so hopefully this will become a family tradition!
You will need:
- 4 cups flour
- 1 1/2 cups salt
- 1 1/2 cups water
- Cookie cutters
Step 1: Combine flour and salt together in a medium bowl, slowly add the water and mix until a soft ball forms. Knead the dough for a couple of minutes. The dough should be the consistency of pie dough or bread dough. If it's too sticky add more flour, and if it's too stiff add a little more water.
Take the dough and flour a surface and roll the dough out to about 1/4" thick. Take your cookie cutters and make shapes in the dough, making sure you press down evenly. Tear away your unused dough from around the shapes and use a spatula to pick up the shapes and place them on an ungreased cookie sheet. Definitely remember to flour your surface - otherwise you will NOT be able to pick up the dough easily.
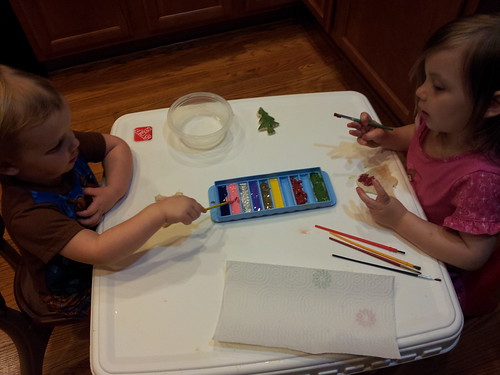
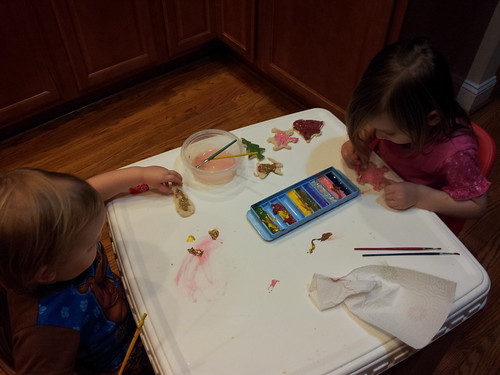
The Aftermath:
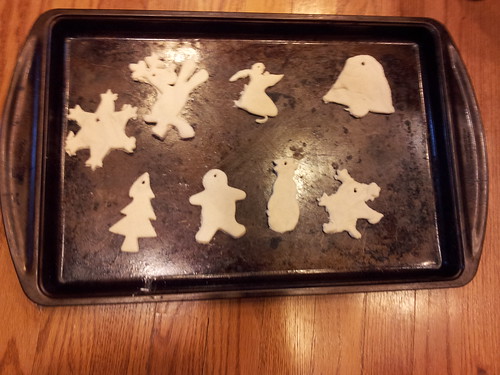
Bake at 300 for approximately 25 minutes (or until hard, but not brown). Don't forget to use a toothpick to make a hole for your ornament hook if that's how you're using these.
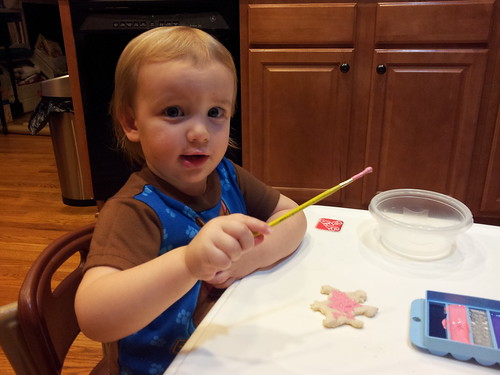
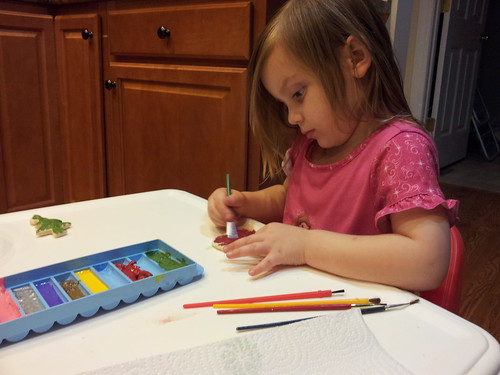
Wait about 15 minutes for the cookies to cool completely and then get the kids painting them and writing names on these little keepsakes.
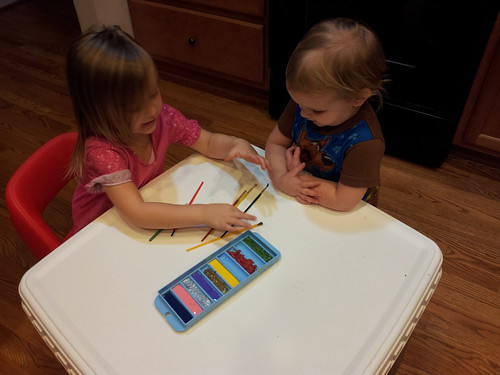
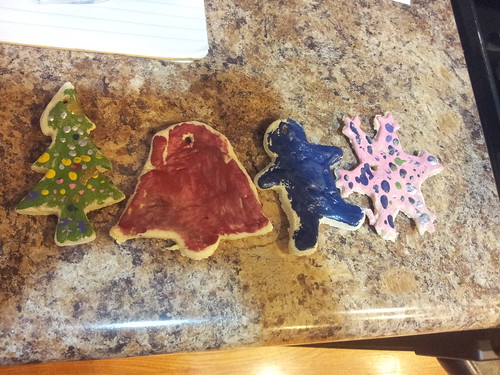
Brianna's completed ornaments: (3 years old)
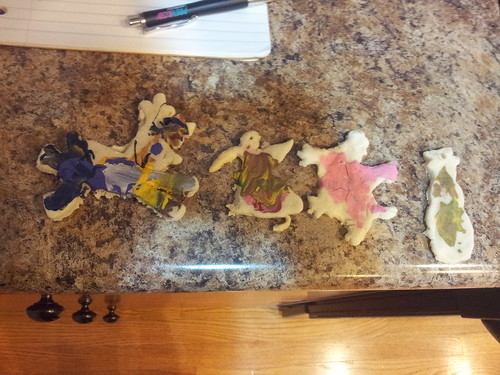
Hunter's completed ornaments: (2 years old)
Labels:
activities,
christmas,
crafts,
frugal crafts,
fun,
holiday,
homemade,
kids,
make your own
Friday, October 5, 2012
Frugal Game - Squeezie Sidewalk Chalk
I saw this idea on No Time For Flashcards and loved it - I just knew we had to try it out!!
Squeezie Sidewalk Chalk!
You will need:
Perfect summer activity!! Even with my kids being one (at the time) and three, they LOVED this activity. I can't tell you how often I get asked to do this with them again. :) I love it when they love cheap fun! And yes, it came right off the sidewalk with the next rain... it just so happened that was about 2 1/2 weeks after this! Haha! But every time I walked outside I remembered what a great time we had together, so it was well worth it.
I highly recommend you do this with your kids, especially if they're older because they'll be able to do more shapes and "artistic" things.
If you do it, show me your pictures!
Squeezie Sidewalk Chalk!
You will need:
- squeeze bottles (They are CHEAP at dollar stores and Bed Bath & Beyond, my mom got mine from a yard sale!)
- cornstarch
- water
- food coloring
Pour into the squeeze bottle and THEN add food coloring. We chose blue and green.
Go outside and have at it!
Perfect summer activity!! Even with my kids being one (at the time) and three, they LOVED this activity. I can't tell you how often I get asked to do this with them again. :) I love it when they love cheap fun! And yes, it came right off the sidewalk with the next rain... it just so happened that was about 2 1/2 weeks after this! Haha! But every time I walked outside I remembered what a great time we had together, so it was well worth it.
I highly recommend you do this with your kids, especially if they're older because they'll be able to do more shapes and "artistic" things.
If you do it, show me your pictures!
Labels:
activities,
children,
crafts,
easy,
frugal crafts,
fun,
games,
homemade,
kids,
make your own
Subscribe to:
Posts (Atom)